iCircuit – Circuit Simulation on iPhone and iPad

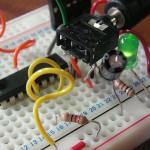
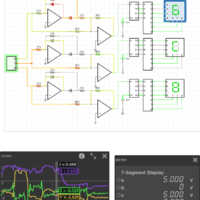
The iCircuit tool gives you a live circuit simulator right in your iPhone or iPad. The simulation engine can handle both analog and digital circuits and in operates in an always-on, real-time mode. This means that you can alter the circuit configuration live and watch the changes as they take place. It is just like playing with a live circuit while measuring.

There are over thirty elements you can use to build circuits, ranging from simple resistors, to switches, to MOSFETs, to digital gates. Having a circuit, you can connect a multimeter to it, probing around the circuit to instantly read voltages and currents. If you want to see how a value changes over time, then you can add values to the built-in multi-channel oscilloscope.

Posted in Electronics | Comments Off on iCircuit – Circuit Simulation on iPhone and iPad

Data Alignment

When working in C, you will sooner or later use structs. This is a very handy construction, but it has hidden pitfalls. One of them shows up when the sizeof your structure changes. Why is that so?

It all comes down to something that is called data alignment. This is because computers today do not read individual bytes from memory, instead they read a word. I.e. a number of bytes that work well for the given CPU architecture. As you can tell, this differs between different CPU architectures.

Continue reading

Posted in Programming | 5 Comments

Modelling On-line

CC-BY-NC SteveMcNModelling 3D graphics is as much about the tools, as about the talent of the designer. In one end of the spectrum, the likes of SolidWorks are found. In another corner, the more programatic approach of OpenSCAD is found attractive. Some others might want a cloud based solution. Then TinkerCAD and 3DTin provides something for your needs.

Continue reading

Posted in 3D Printing | Comments Off on Modelling On-line

SMD Soldering

In this video, David Pello takes us through the process of soldering SMDs using a soldering iron.

Posted in Electronics | Comments Off on SMD Soldering

Breaking PIC’s Firmware Encryption

The PIC18F1320 has a built in protection of the configuration, e.g. the firmware. Over att Bunnie’s blog, there is an article on breaking this. Apparently, it takes a UV light source, some tape and mild violence. Stir these components together and you can unlock the devices. Makes you think about what you actually put in your firmware.

Posted in Electronics | Comments Off on Breaking PIC’s Firmware Encryption

Materialize Your Models

When working with hobbyist 3D printers, you will sometimes suffer from the printer resolution. Then, it is good to know that there are professional printers out there as well. We have already looked at shapeways, and now it is time for i.materialize.

Continue reading

Posted in 3D Printing | Comments Off on Materialize Your Models

eMaker Huxley Build – part 2

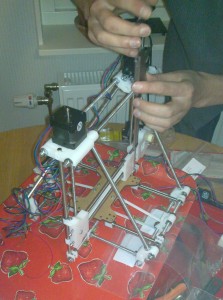
Second night of building. X and Y axes are almost done. A minor hickup with the X-axis ends. The clips for holding the Igus bushings should really not be printed to look clips, please update to full circles. Still, nothing a little super glue could fix.

Next up: the nozzle mount, but that will have to wait for tomorrow.

Posted in 3D Printing, eMaker Huxley | Comments Off on eMaker Huxley Build – part 2

Shaping Prototypes

Shapeways is a 3D printing webshop. They offer prints in non-plastic materials such as metals, ceramics, glass, coloured sandstone – but also plastic, of course. The shop is run using professional grade 3D printers, so the results can be expected to be of higher quality than if you self-print with a RepRap or similar device.

The beautiful thing about the site is that it accepts STL files. This means that you can use the same designs as you do for your RepRap here. For instance, you can prototype parts in plastic and then have the final design printed in steel, glass or even silver and gold.

Posted in 3D Printing | Comments Off on Shaping Prototypes

eMaker Huxley Build – part 1

Adjusting the frame

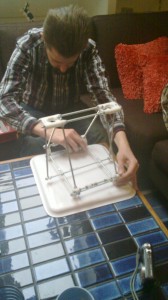
So, the EMaker Huxley arrived the other day. This Sunday, my brother and I started putting it together. Building the frame, we encountered some minor issues with the instructions (pieces not listed in the parts list of a step) but updated the wiki as all good citizens does.

The machine sure looks neat, and having a MakerBot since earlier , the size of the frame is really impressive. Bigger build envelope in a smaller chassis. On the other hand, the MakerBot was easier to put together, and is probably sturdier if you want to bring it somewhere.

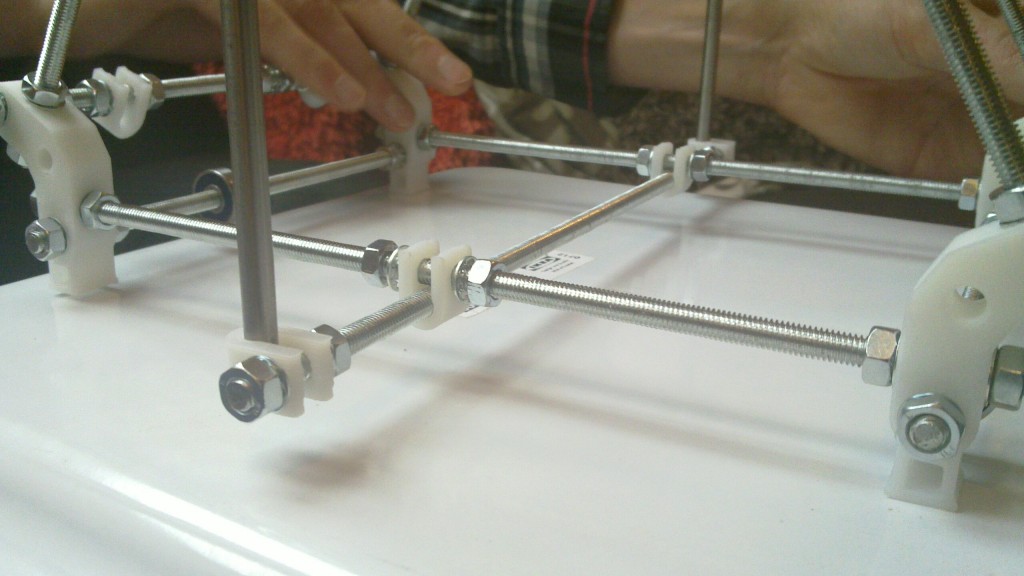
And a final note, the bottom bar, holding the smooth rods for the Z-axis, looks like the picture below. There is no clear image pointing this out in the original wiki.

Posted in 3D Printing, eMaker Huxley | Comments Off on eMaker Huxley Build – part 1

Solar Panels Tutorial

CC-BY http://www.flickr.com/photos/oedipusphinx/4008724345/The nice people over at voltaicsystems has published a three part tutorial on solar cells and charging the power (1, 2, 3). Solar powered, wireless systems can really be the future in monitoring and automation systems.

Via make.

Posted in Electronics | Comments Off on Solar Panels Tutorial